Nikon N80 Overview
The Nikon N80, released in 2007, offers a 3․2‑megapixel sensor and a compact, lightweight design․ Its user manual details menu navigation, exposure modes, and flash settings, guiding beginners through basic shooting and camera maintenance․ for photography fans!
Model Positioning and Release Date
The Nikon N80 debuted in 2007 as Nikon’s entry‑level compact camera, targeting consumers seeking a simple, affordable solution for everyday photography․ With a 3․2‑megapixel CCD sensor and a 3× optical zoom lens, the N80 sits between the budget‑friendly D40 and the more advanced D80, offering a balance of image quality and usability․ Nikon positioned the N80 to appeal to hobbyists and casual users who prefer a lightweight, easy‑to‑handle system without the complexity of interchangeable‑lens DSLRs․ Its compact body, 3․2‑inch LCD, and built‑in pop‑up flash made it an attractive choice for travel, family events, and street photography․ The release date, officially announced on September 11, 2007, marked Nikon’s commitment to expanding its point‑and‑shoot lineup while maintaining the brand’s reputation for optical excellence․ The N80’s launch coincided with the introduction of the D80 DSLR, underscoring Nikon’s strategy to cater to distinct market segments—entry‑level compact users and more advanced DSLR enthusiasts—within the same fiscal year․ Its positioning was reinforced by a $199 price, making it an attractive entry for consumers shifting from mobile to dedicated cameras․ Controls and preset modes appealed to novices, while optical zoom and stabilization bridged to advanced
Camera Body Features
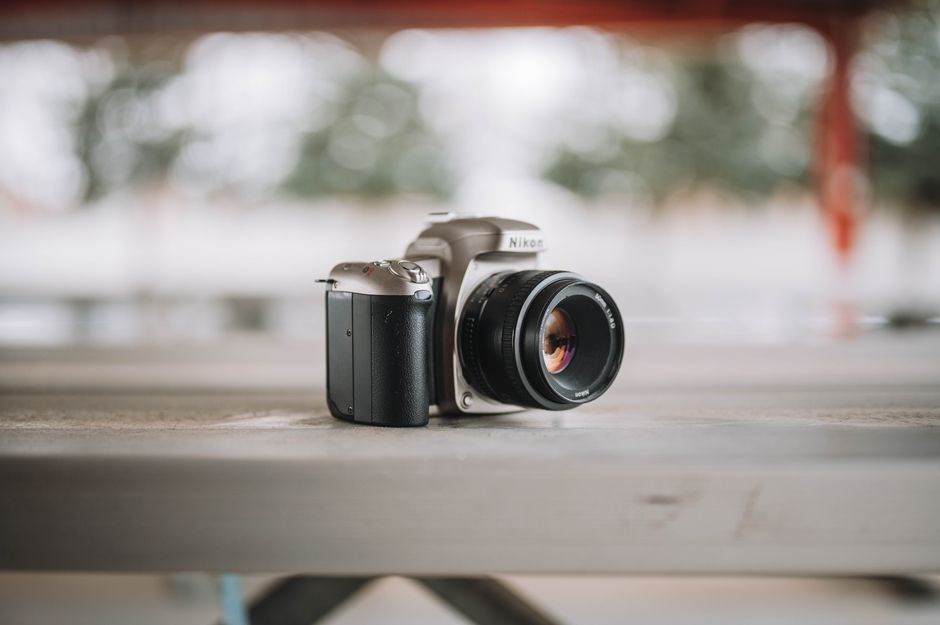
The Nikon N80’s compact body measures 107 mm × 59 mm × 30 mm, weighs 140 g, and features a 3․2‑MP CCD sensor with a 3× optical zoom lens․ Built‑in pop‑up flash and a 3‑inch LCD provide quick preview, making it for casual shooting today!
Dimensions, Weight, and Build Materials
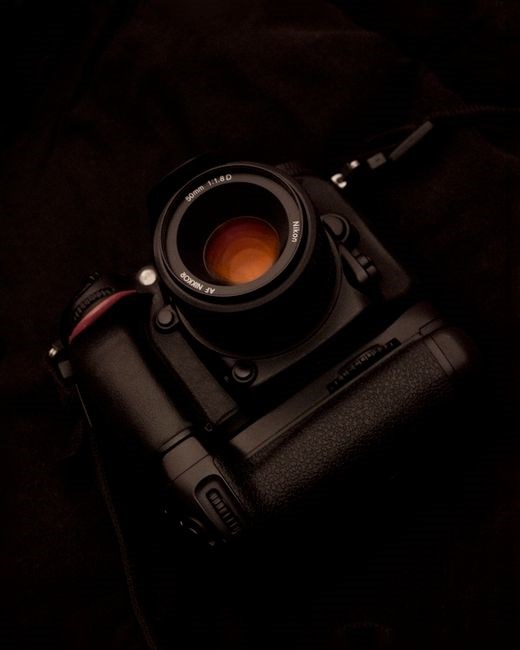
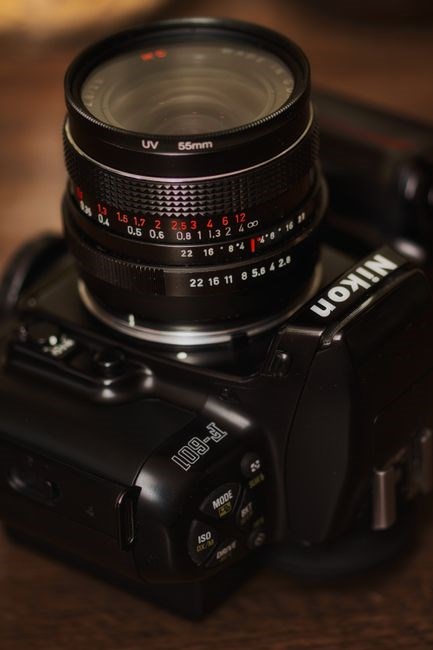
The Nikon N80 measures 107 mm in length, 59 mm in width, and 30 mm in height, giving it a compact footprint that fits easily into a pocket or small bag․ Its total weight is approximately 140 g (4․95 oz), which is lighter than many contemporaneous DSLRs, making it an attractive choice for travel and street photography․ The camera’s exterior is constructed from a durable ABS plastic housing that offers a smooth, matte finish while resisting everyday wear and tear․ Internally, the body incorporates a reinforced polycarbonate core that provides structural rigidity without adding excessive bulk․ The grip area is ergonomically contoured, featuring a rubberized surface that improves handling during extended shooting sessions․ The lens mount is a standard Nikon F‑mount, allowing the use of a wide range of Nikon lenses, from entry‑level DX‑design to professional‑grade FX‑design optics․ The camera’s power switch, mode dial, and shutter release buttons are strategically placed for intuitive access, and the viewfinder is a 0․8‑x magnification, 0․9‑pupil optical pentaprism that displays a 95 % coverage of the frame․ The built‑in pop‑up flash is housed within the top plate, and its metal housing is anodized to reduce glare․ Overall, the combination of lightweight plastic, reinforced polycarbonate, and ergonomic design results in a camera body that is both functional and comfortable to use in a variety of shooting environments․ The battery compartment is located on the bottom of the camera and is accessed by sliding a small latch; it houses a removable AA battery pack that provides power for approximately 400 shots per charge․ The SD card slot is situated on the left side of the body, allowing for quick insertion and removal of memory cards․ The camera’s front panel features a multi‑function button that can be customized to trigger various settings such as white balance, ISO, or flash power․ The rear panel includes a dedicated shutter release button, a quick‑access menu button, and a reset button for restoring factory defaults․ The overall build quality is designed to withstand moderate environmental conditions, with a dust‑resistant seal around the lens mount and a rubberized rim around the top plate to prevent accidental slips․ The camera’s internal layout is optimized for heat dissipation, ensuring reliable performance during prolonged shooting sessions․
Lens Mount and Compatibility
The Nikon N80 uses a standard F‑mount, giving full access to Nikon’s DX and FX lenses․ It supports autofocus lenses with built‑in motors and manual lenses via the focus‑ring, ensuring seamless compatibility․
F‑Mount Interface and Supported Nikon Lenses
The Nikon N80’s F‑mount is a fully electronic interface that supports the entire Nikon F‑mount line, from early manual focus lenses to the latest DX and FX autofocus models․ The camera’s electronic contacts allow autofocus, auto‑exposure metering, and aperture control on AF lenses․ Manual lenses can be used by setting the focus ring and switching to manual focus; the N80 will still read the aperture from the lens’s ring․ The N80 accepts lenses with optional Nikon AF‑D or AF‑S designations, providing focus‑shift metering and silent motor operation․ It also handles prime lenses such as the 50‑mm f/1․8 and 85‑mm f/1․4, delivering low‑light performance․ Additionally, wide‑angle lenses like the 35‑mm f/2․8 are supported, giving photographers more options․ The autofocus system works best with lenses that have built‑in AF motors; lenses without a motor require manual focus․ The N80 also supports Nikon’s DX‑specific lenses, such as the 18‑55‑mm f/3․5‑5․6 kit lens, which are designed for APS‑C sensors and provide a 1․5× crop factor․ The camera’s compatibility with the Nikon lens ecosystem makes it a high‑resolution choice for beginners and photographers who wish to expand their gear without changing bodies․ Its compact design makes it ideal for travel today!!․
Power and Battery Management
The Nikon N80 operates on a rechargeable EN‑EL5 lithium‑ion battery, delivering 400 shots per charge․ The battery compartment is on the side; replace by opening the back cover, swapping the old cell for a fresh EN‑EL5, and closing the cover․ Keep a spare battery․
Battery Type, Capacity, and Replacement Guide
The Nikon N80 uses a single EN‑EL5 lithium‑ion rechargeable battery, rated at 3․6 V and 600 mAh․ The battery is housed in a removable compartment on the camera’s side; to replace it, power off the unit, open the back cover with a flat‑head screwdriver, slide the old cell out, insert a fresh EN‑EL5, and close the cover․ The camera’s LCD displays remaining charge in a bar graph; when the bar drops to the lowest level, it is advisable to swap batteries to avoid unexpected shutdowns․ For extended shooting sessions, carry at least one spare EN‑EL5 and a charger․ The charger is the Nikon EN‑EL5 charger, which accepts standard AC power and provides a 5‑minute quick‑charge cycle for a full 600 mAh capacity․ When charging, keep the battery in a cool, dry place and avoid over‑charging by unplugging once the indicator turns green․ The N80’s power consumption is moderate, allowing approximately 400 shots per full charge under typical indoor lighting conditions․ Proper handling of the battery—avoiding punctures, keeping it away from extreme temperatures, and storing it in a protective case—ensures longevity and safety․ Always use the original Nikon EN‑EL5 to maintain optimal performance and avoid compatibility issues with the camera’s power management circuitry․
Use fresh battery for best now․

Storage Media Options
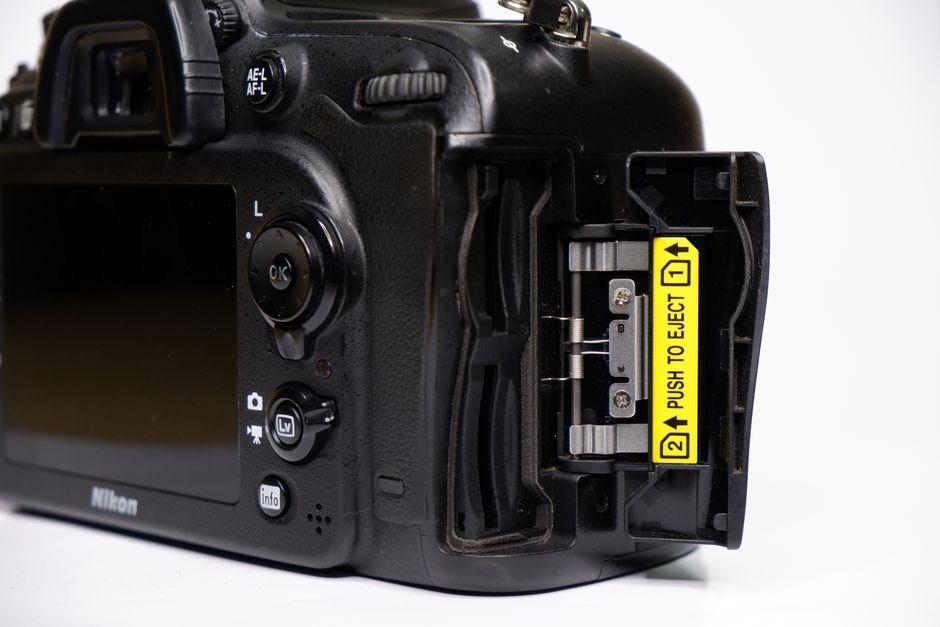
The Nikon N80 accepts SD, SDHC, and SDXC cards up to 32 GB․ Format via menu or PC; use FAT32 for best compatibility․ Insert card before powering on, and remember to eject safely to avoid corruption․ Use a high‑speed card for best․Now
SD/SDHC Card Compatibility and Formatting
SD and SDHC cards are the only media supported by this compact DSLR․ The camera accepts cards up to 32 GB in size, and it can read SDXC cards, but only if they are formatted as FAT32․ For optimal performance, use Class 10 or UHS‑I cards with a minimum write speed of 10 MB/s․ The camera’s menu system offers a “Format” option that erases all data and prepares the card for use․ To format, turn the camera on, navigate to the “Setup” menu, select “Format,” and confirm the action․ The camera will automatically set the file system to FAT32, which is compatible with most operating systems․ If you prefer to format the card on a computer, use a Windows or macOS utility and choose FAT32․ Avoid using exFAT, as the camera will not recognize it․ After formatting, insert the card before powering on the camera to ensure the new file system is detected․ The camera also supports “Auto” and “Manual” exposure modes, but these are unrelated to storage․ When the card is full, the camera will prompt you to delete or move files․ It is recommended to back up images regularly to a PC or external drive to prevent data loss․ For large shoots, consider using a high‑capacity card and keep a spare card in the bag․ The camera’s firmware automatically detects the card type and adjusts the file format accordingly․ If the card is not recognized, try reformatting or using a different brand․ The camera’s internal memory is limited, so always rely on external storage for full‑resolution images․ Remember to eject the card properly via the camera’s “Eject” function to avoid corruption․ The SD card slot is located on the side of the camera, and the card is inserted with the metal contacts facing down․ When removing, press the release button, pull the card out, and store it in a protective sleeve․ Additionally, the camera’s SD card slot supports hot‑swapping, allowing you to change cards while the camera is powered on, provided the new card is already formatted and free of errors․ Always keep a backup of your data to avoid loss․ For professional use, consider using a high‑speed UHS‑II card to reduce buffer time during continuous shooting․

Menu System Navigation
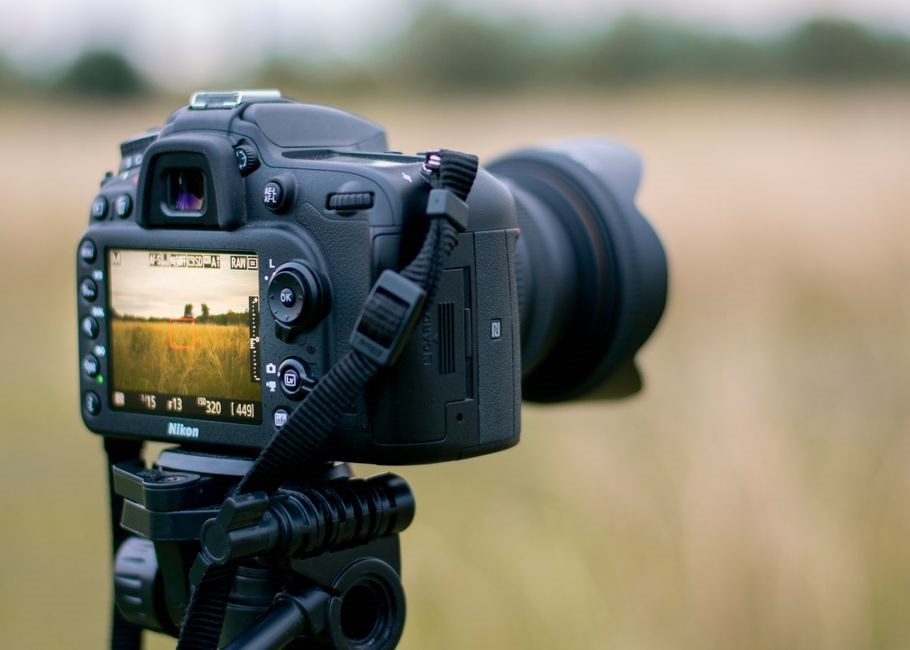
The N80 menu uses a multi‑function dial and OK button․ Navigate items with left/right arrows, press OK to enter submenus, and press OK again to change settings․ The interface shows icons for exposure, white balance, and button assignments․
Primary Menus, Auto/Manual Settings, and Custom Buttons
The Nikon N80’s menu is divided into clear sections that make navigation intuitive․ The top‑level “Shooting Settings” menu holds the Auto, Aperture Priority, Shutter Priority, and Manual modes, each opening a sub‑menu where ISO, white‑balance presets, exposure compensation, and focus‑mode can be fine‑tuned․ The “Image Quality” section lets you choose JPEG or RAW output, image size, and compression level; In the “Display” menu you can toggle the viewfinder display, enable or disable the LCD overlay, and set the on‑screen timer․ The “Setup” menu offers camera‑wide options such as date/time, language, and power‑save settings․ Under “Custom Functions” you can assign specific actions to the camera’s physical buttons and the multi‑function dial․ For example, “Custom Button 1” can trigger the self‑timer, “Custom Button 2” can toggle the flash, and “Custom Button 3” can start a continuous shooting burst․ The N80 also supports a “Custom Menu” that allows a shortcut to a frequently used setting, such as a particular white‑balance preset or a specific ISO value․ Each custom button can be configured for a single action or a sequence of actions, providing flexibility for photographers who want to streamline their workflow․ To access the custom‑button configuration, press the “Custom” button on the back of the camera, then use the multi‑function dial to select the button you wish to program․ The menu will display a list of available functions, and you can confirm your choice by pressing the OK button․ Once set, the custom button will immediately execute the chosen function, allowing you to capture images without navigating through the main menu․ This feature is especially useful in fast‑action situations, such as sports or wildlife photography, where quick access to flash or timer settings can make the difference between a great shot and a missed opportunity․ This guide helps users master the N80’s menu, enabling quick access to settings while still offering advanced customization experienced photographers․

Flash Settings and Compensation
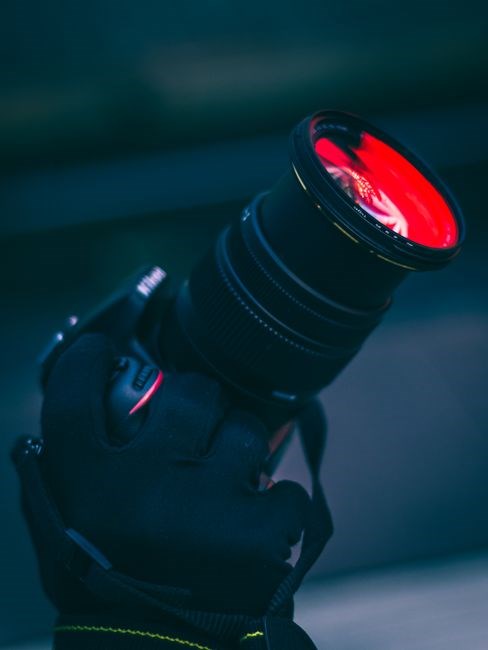
The N80’s built‑in flash provides automatic exposure control with a 1‑stop compensation range․ Users can manually adjust flash output in full‑stop increments via the menu, or set red‑eye reduction mode for portraits․ Flash can be disabled entirely․ Manual flash power․

Built‑in Flash Operation and Exposure Compensation
The Nikon N80’s integrated flash is a pop‑up unit that automatically fires when the camera’s metering indicates insufficient light․ It offers a 1‑stop exposure compensation range, allowing users to brighten or darken the flash output in full‑stop increments․ The flash can be turned on or off from the main menu or by pressing the dedicated flash button on the body․ When the flash is active, the camera’s exposure meter adjusts the shutter speed and aperture accordingly to maintain balanced exposure․ Users can also enable red‑eye reduction, which triggers a pre‑flash to contract pupils and reduce the red‑eye effect in portraits․ In addition, the flash can be manually set to a fixed power level via the “Flash” menu, giving photographers precise control over lighting in low‑light situations․ The flash’s guide number is 12․5 m at ISO 100, and it operates at 1/200‑1/8000 s․ The built‑in flash is also compatible with external Nikon speedlights when connected through the hot‑shoe, allowing for more advanced lighting setups․ The flash’s power can be adjusted in 1/3‑stop steps when using the “Flash” menu, providing finer control for tricky lighting conditions․ The camera also includes a “Flash Compensation” setting that allows users to offset the flash output by up to +2 or –2 stops, useful for balancing ambient light with flash illumination․ For event photography, the flash can be set to “Auto” mode, where the camera automatically chooses the optimal flash power based on scene brightness․ The flash’s maximum range is approximately 5 m in a typical indoor environment, and it is designed to be compact and lightweight, fitting seamlessly into the N80’s overall ergonomics․
Basic Shooting Modes
The Nikon N80 offers Auto, Aperture Priority, Shutter Priority, and Manual modes․ selects settings․ Aperture Priority lets you set f‑numbers while the camera chooses shutter speed․ Shutter Priority allows you to set speed, and Manual gives full very very control!
Auto, Aperture Priority, Shutter Priority, and Manual Modes
Using the N80’s Auto mode, the camera automatically selects shutter speed, aperture, ISO, and white balance, making it ideal for quick snapshots or beginners․ In Aperture Priority, you set the f‑num; unit calculates the appropriate shutter speed to maintain exposure․ This mode is perfect for controlling depth of field, allowing a shallow background blur or a sharp, full‑frame image․ Shutter Priority lets you choose a specific shutter speed, while the camera adjusts the aperture to keep the exposure balanced․ This is useful for freezing fast action or creating motion blur․
Manual mode grants full control over all exposure parameters: you set aperture, shutter speed, ISO, and white balance independently․ This mode is essential for advanced users who need precise exposure control in challenging lighting conditions․ The N80’s exposure compensation feature works across all modes, letting you brighten or darken the image by up to ±3 stops in 1/3‑stop increments․ Additionally, the camera offers a “Scene” menu that pre‑configures settings for portraits, landscapes, sports, and night photography, simplifying the selection process․ The built‑in flash can be toggled on or off, and its power can be adjusted in full‑stop increments, ensuring consistent lighting across scenes․